

An inside look on building greenhouses in the Minnesota winter
Even when we’re not in the middle of the growing season, there are always projects to keep us busy around the greenhouses. This “offseason” we created an opportunity for us to grow in a different way. Not plants, but production space.
This past October, we broke ground on two new production greenhouses at our central Minnesota facility. By the second week of April, they’ll be warm and helping native plants grow! Both new houses measure 30 x 150 ft, matching our six existing production houses already in use.
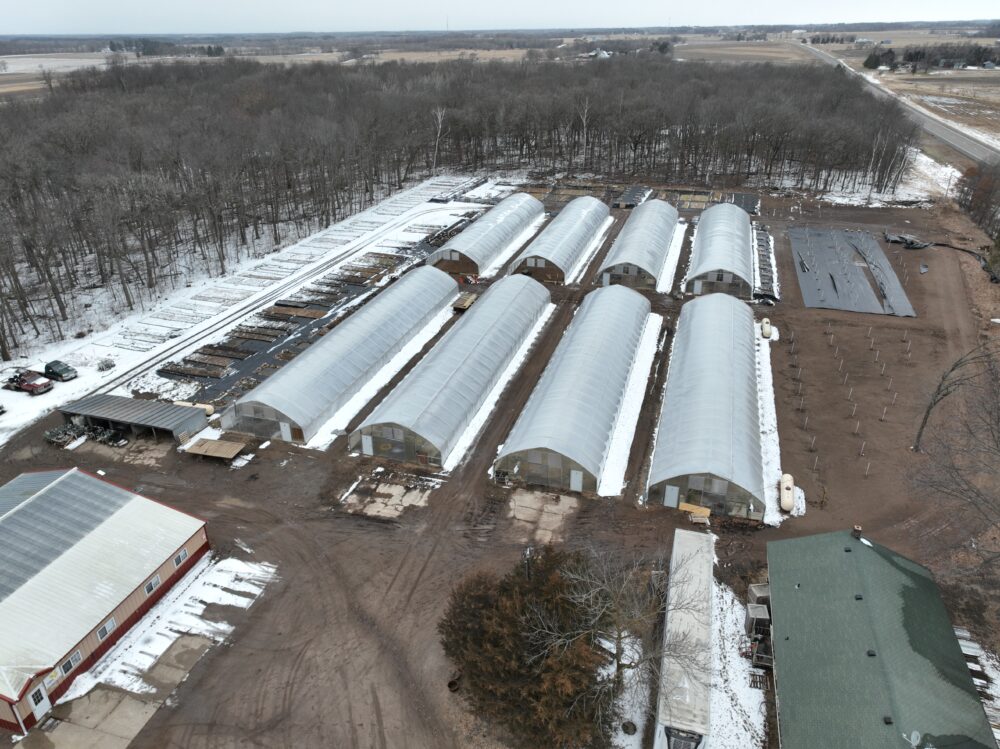
Now, we’ll be the first to admit, we are not greenhouse construction experts. We also never back down from a challenge! Building and expanding our growing space has become something we’ve learned by doing. At the completion of these two houses, we’ll have built five new greenhouses over the past several years to help keep up with the growing demand for native plants. The MNL production facilities team, along with other greenhouse staff for those “all-hands-on-deck” moments, take on the greenhouse construction internally, working through the process step by step.
The timeline might sound straightforward, but most of this work happens around a Minnesota winter. We’re not out there every day in the worst conditions. Instead, we work strategically, taking advantage of favorable weather windows to keep things moving forward. It’s a steady process of plugging away, one step at a time, until the space is ready for plants.
Here’s what that process looks like:
1. Site Selection and Clearing
The first step in greenhouse construction is figuring out where to put it! Space is always at a premium around an active production facility. If the space is not being used for actively growing plants, we’re using it to house and care for standing inventory and staging orders that are ready for delivery.
Choosing where to place new greenhouses isn’t just about finding open ground, it’s about thinking through workflow, access, and future expansion. How will plants move through the space? How will staff and equipment navigate it? And how does this placement affect what we might build next?
Once the location is finalized, the area is cleared and prepped for grading.
2. Building the Base
Just like any structure, a solid greenhouse starts from the ground up.
Before the ground freezes in October, we bring in sand-based fill and carefully level the site. This type of fill gives us both malleability and excellent drainage—two things that are critical in a greenhouse setting. After leveling, the area is compacted to create a stable, consistent base.
Getting this step done ahead of winter sets the tone for everything that follows.
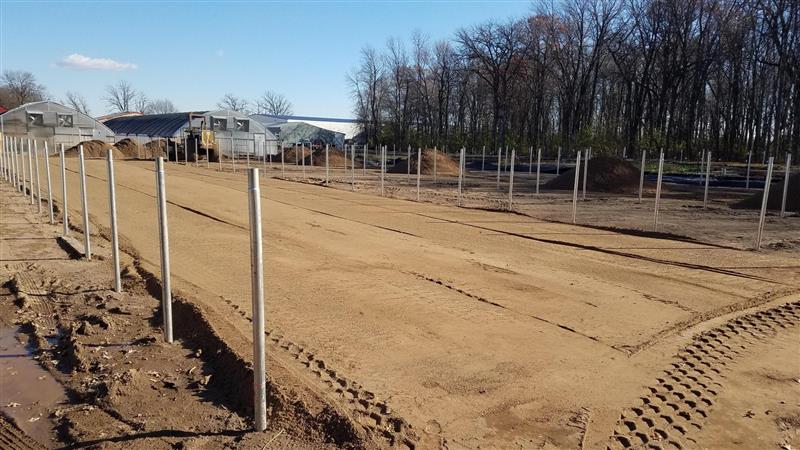
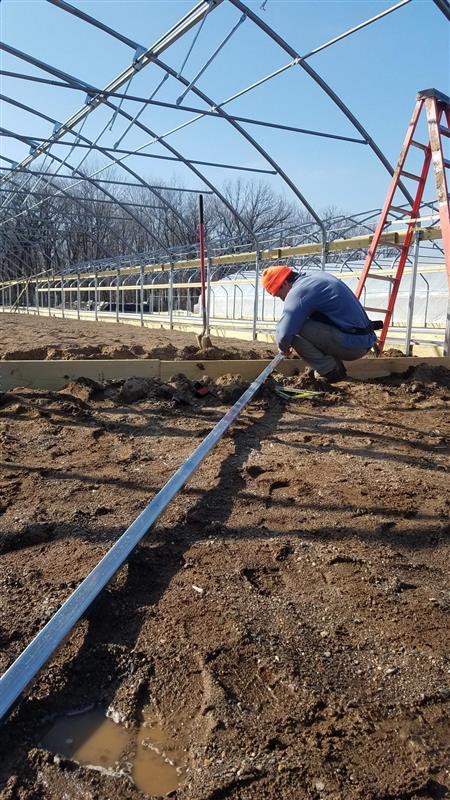
3. Driving the Foot Posts
Once the excavation and groundwork is in place, the structural anchors go in. With the help of some heavier machines, hollow steel posts are driven directly into the ground. Deep enough to provide long-term stability without the need for concrete footings.
With a sharp eye on detail, the team drives each post in a straight line to uniform depth, to make sure the following construction steps go smoothly. It’s a straightforward approach that works well for our setup, giving the greenhouse the strength it needs to handle wind, snow load, and years of use.
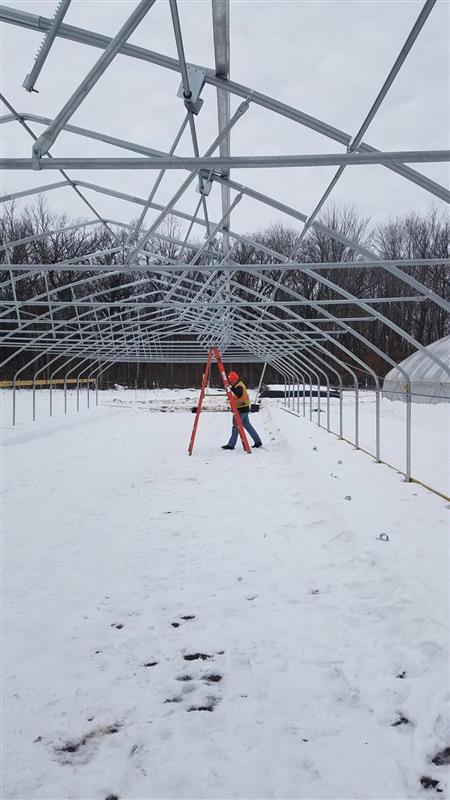
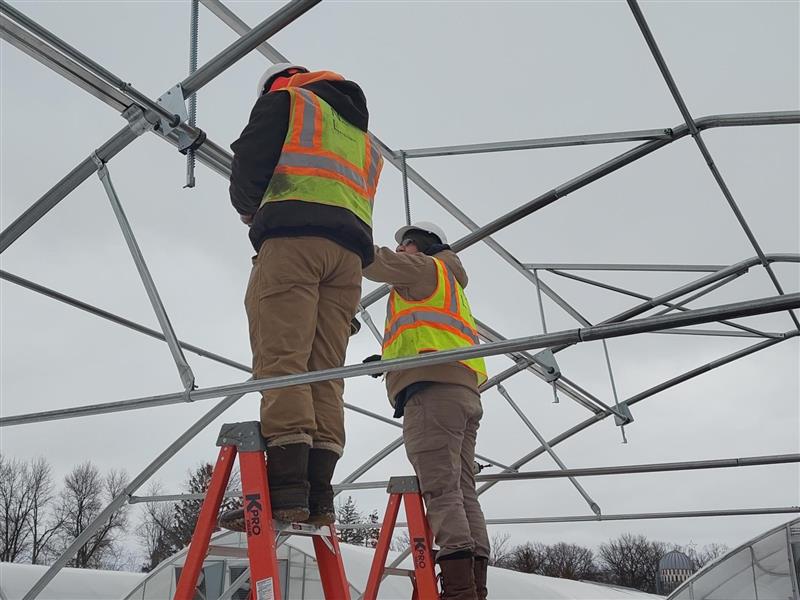
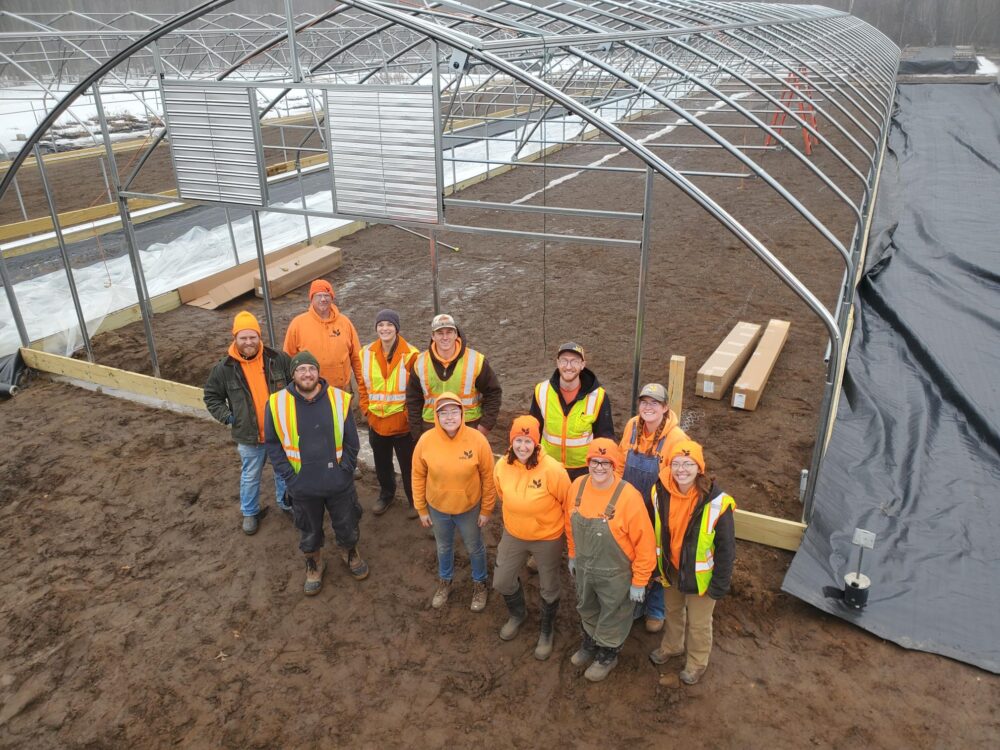
4. Framing the Structure
This is where the project starts to feel real.
Arches go up first, spanning the width of the greenhouse as they slide into place over posts on each side. Purlins go on next to ensure proper, consistent spacing between each arch. Trusses are installed to provide additional stability and weight bearing capacity, as well as provide structure for overhead irrigation. Finally, footboards are installed along the bottom, and rows of channeling are attached. These channels provide the anchoring the greenhouse plastic will eventually be secured to.
5. Ventilation Systems: Ridge Vents and Roll-Up Sides
Air movement is one of the most important parts of greenhouse climate management.
Each house is fitted with a ridge vent that runs the full length of the structure. Imagine a large flap style vent that rises to allow warm air to escape from the top. Along one side of each house, a long roll-up style system is installed. This allows the side panel to roll up, bringing fresh air into the house.
Together, these systems create a natural airflow pattern—warm air rises and exits, pulling fresh air through the side of the house at the plant level. Once outside temperatures allow, this passive ventilation does most of the climate control work.
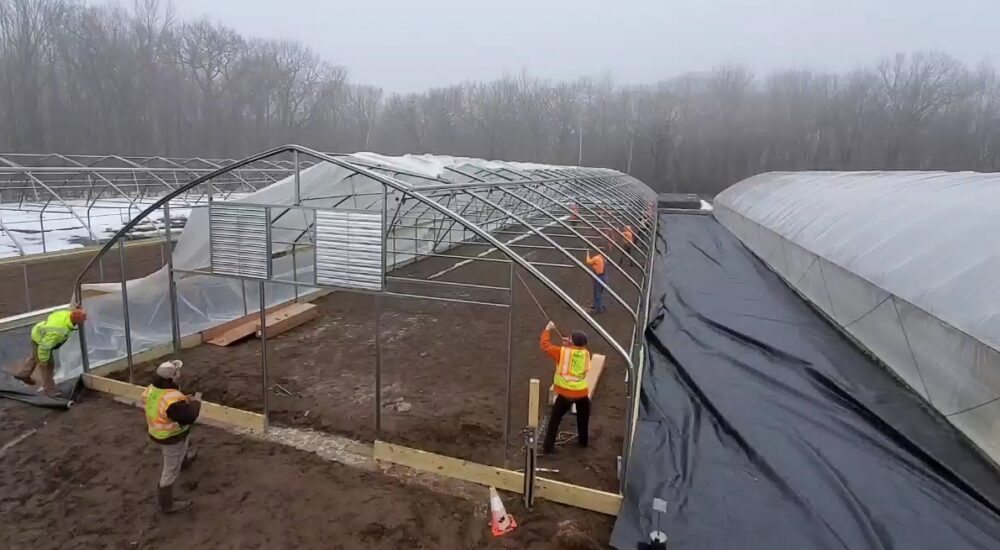
6. Installing Greenhouse Plastic
This is one of the most team-involved, coordinated, and weather-dependent steps in the process.
Installing the plastic requires a crew of around twelve people pulling two 150-foot sheets of greenhouse plastic up and over the frame. Ideally, we look for a day that’s calm and relatively warm. In Minnesota, in February, that can be a challenge.
Finding the right window takes patience, but when it comes together, it’s a big milestone. Once two sheets of plastic are in place, they’re secured around the perimeter of the house with wiggle wire and channels. Imagine a stiff zig-zag style wire pressed into a C-shaped channel to hold the plastic in place and create a nearly air-tight space between the sheets of plastic.
Finally, fans are installed to constantly pump air into the void between the two sheets of plastic. The top layer of plastic puffs up into a dome, while the lower layer creates bulges downward between each arch. This bubble layer of air creates natural insulation to keep the house warm for early season growing.
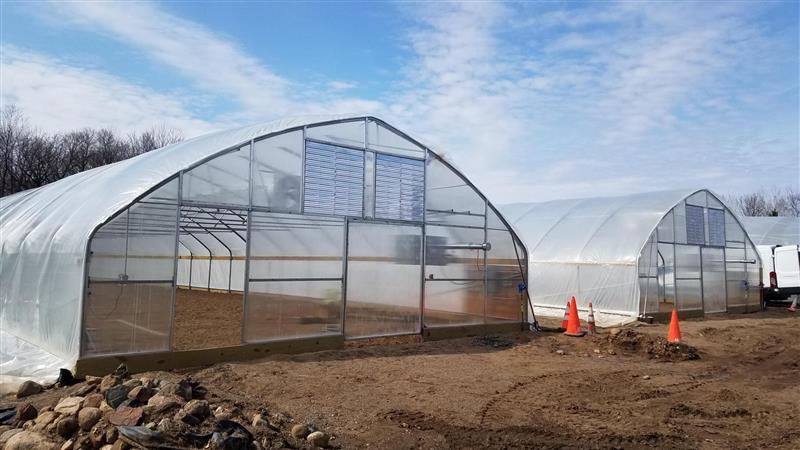
7. Building the End Walls
With the structure enclosed, attention shifts to the finishing details.
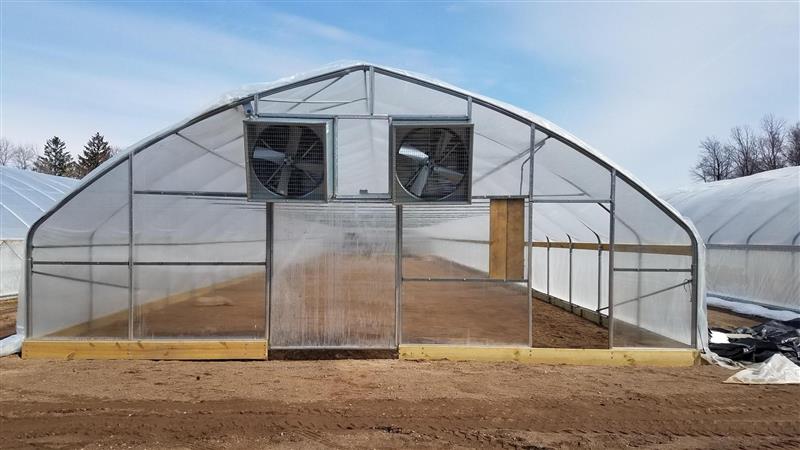
Steel framing is installed on the end walls, along with standard man doors and larger flip-up doors for moving plants and materials in and out. Louvered vents are also added to improve airflow and give us more control over the internal environment. Finally, polycarbonate panels are added to complete the end wall structure. .
8. Heating and Air Movement
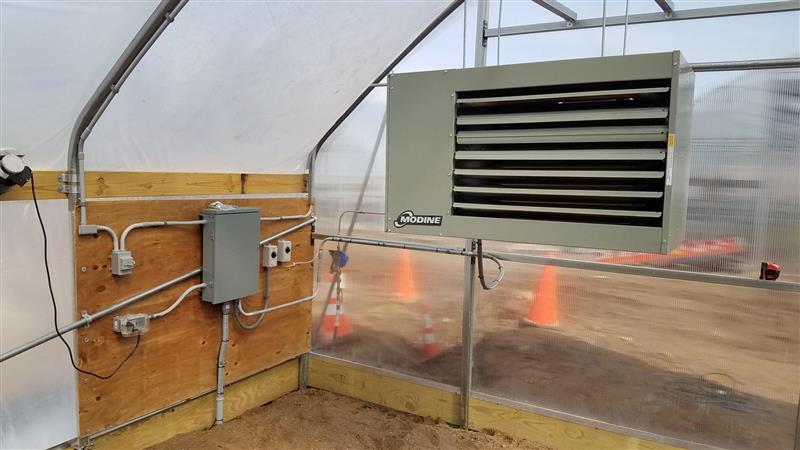
To get an early start on the growing season, each greenhouse is equipped with heating and ventilation systems.
Furnaces are suspended from the trusses overhead, while large exhaust fans are mounted in the end walls. In March and April, before outside conditions allow ridge venting and roll-up sides, these systems are essential for managing temperature and humidity inside the house.
9. Utilities and Irrigation
Once the structure is complete, the systems that make it functional come online.
Each house is connected to our main underground water system and outfitted with overhead irrigation. The space is divided into eight programmable watering zones, allowing us to tailor watering schedules based on house conditions, species, and plant needs.
Electrical wiring is installed to provide power to fans, thermostats, controls, and automation, while propane lines feed the furnaces. This layer of infrastructure is what turns a structure into a year-round, automated production environment
.
10. Final Grading and Flooring
The finishing step brings everything back down to ground level.
After construction is complete, the interior is re-leveled and covered with a thick, permeable greenhouse fabric. This material allows water to drain through while preventing unwanted vegetation from growing from the soil below.
It creates a clean, stable surface that supports efficient day-to-day work inside the house.
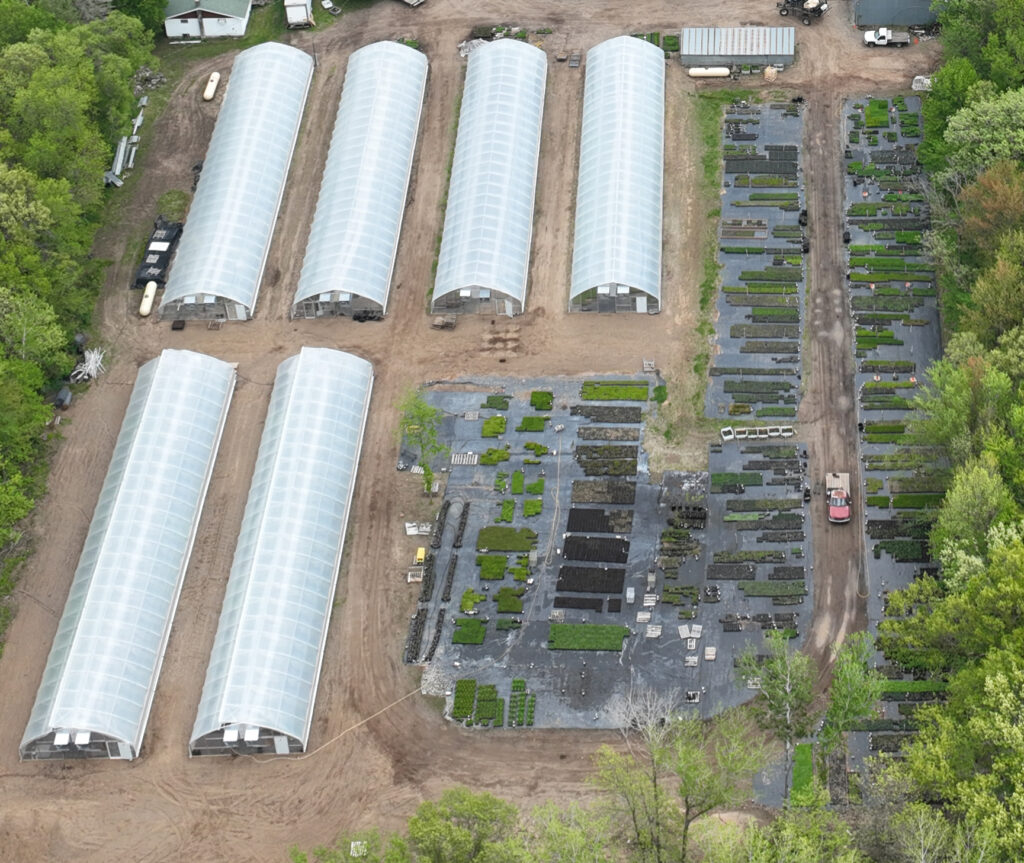
11. Growing!
With the greenhouse fully built and ready, it’s finally time for the reason we do all this, growing plants. Trays are moved in, seedlings and plugs are transplanted, and the irrigation and climate systems spring into action. In just a couple weeks these newly finished houses will be full of thriving plants, ready to be moved again to fulfill orders in May.
From the outside, a greenhouse can look like a very simple structure. A frame, a layer of plastic, and not much more.
But getting to that point takes months of planning, coordination, and physical work. It means working around the realities of a Minnesota winter, taking advantage of the right days, and pushing projects forward whenever conditions allow.
Adding these two houses expands our production capacity in a meaningful way. It allows us to grow more plants, support more projects, and continue advancing our mission to Heal the Earth.
More than anything, it reflects the grit and determination of the people doing the work. Especially our facilities team, who carry the bulk of these builds and see them through, from bare ground to a space ready for cold-season growing, often, just in the nick of time.
(April 8, 2026 Note: Greenhouse construction is not complete at the time of post. Check back in the coming weeks for additional photos of the finished greenhouses!)
Amazing work! I admire your brave and hardy crew. It is hard enough work to grow healthy native plants, but to also take on the greenhouse construction is over the top. I enjoyed reading the article – well presented.