

At Home Winter Seed Sowing:
A Step-by-Step Guide
Gardening in the winter? Yes, it’s possible! In fact, January and February are the best months to start your native garden by doing some gardening tasks, specifically, sowing native seeds.
In moments like this, gardening is a way we can ground ourselves by touching soil, sowing seeds, and nurturing young plants. Gardening and growing native plants are powerful ways to support our ecosystems while also supporting our own wellbeing.
Why Winter Seed Sowing Works
In order to germinate native seeds, many need what’s called “cold stratification.” This is a long period of moist weather with cold temperatures. The change in temperature from cold to warm is what signals the seed that it is time to leave dormancy. This happens naturally in late winter and early spring in Minnesota.
As gardeners, we could artificially mimic cold stratification by using a refrigerator. Or, we could lean into natural processes and allow our native seeds to respond to nature’s changing of the seasons. It only requires a bit of planning on our part.
When to Start Winter Seed Sowing
The goal of our winter seed sowing effort is to let our native seeds undergo their cold stratification outside, starting in January or February. When they are ready, they will germinate naturally.
We can then transplant the seedlings into bigger pots or into our gardens. If you would like to get a head start on your native garden this winter, follow the steps below.
Click here for detailed photos

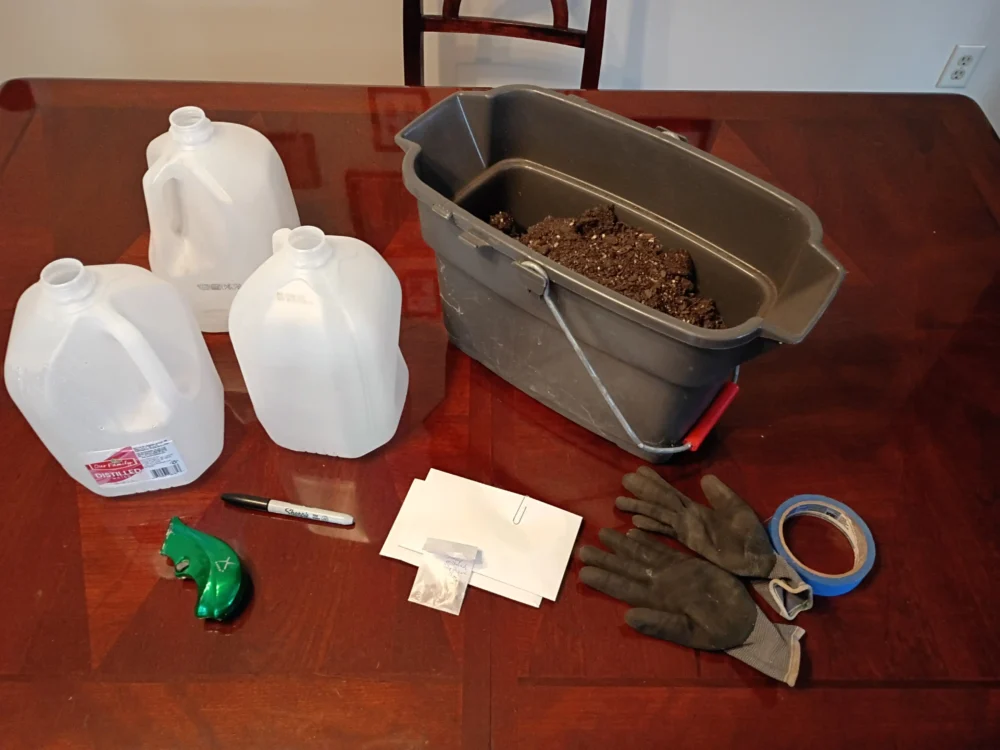
Materials Needed
- Native seed
- 1 gallon plastic milk or water jugs (1 per species) (no covers needed)
- Box cutter, razor, or sharp scissors
- Sharpie
- Tape (packaging, duct, or painters)
- Gardening gloves
- Bucket
- Potting soil
- Water
Step 1 – Prepare the Vessels
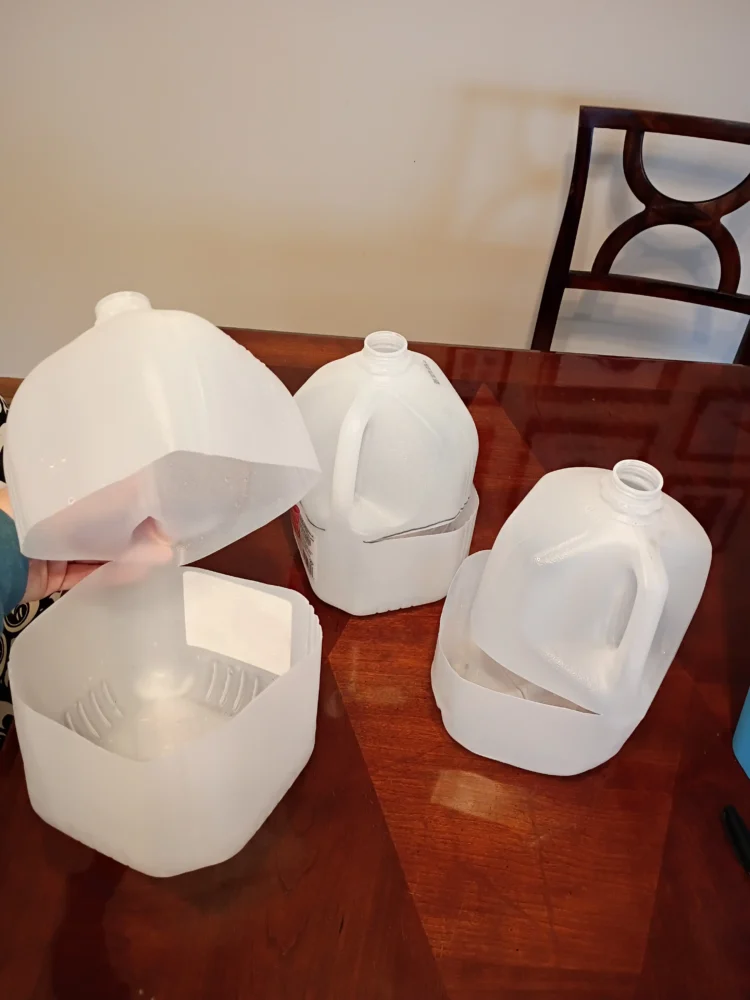
First, prepare the vessels. Use the box cutters to add 6-8 drain slits to the bottom of the jugs by inserting and retracting the box cutter. They don’t need to be circular. Next, carefully use the box cutters to cut a line almost all the way around the jug horizontally. Start just below the handle and cut all the way around back to the other side of the handle. Leave the space below the handle intact.
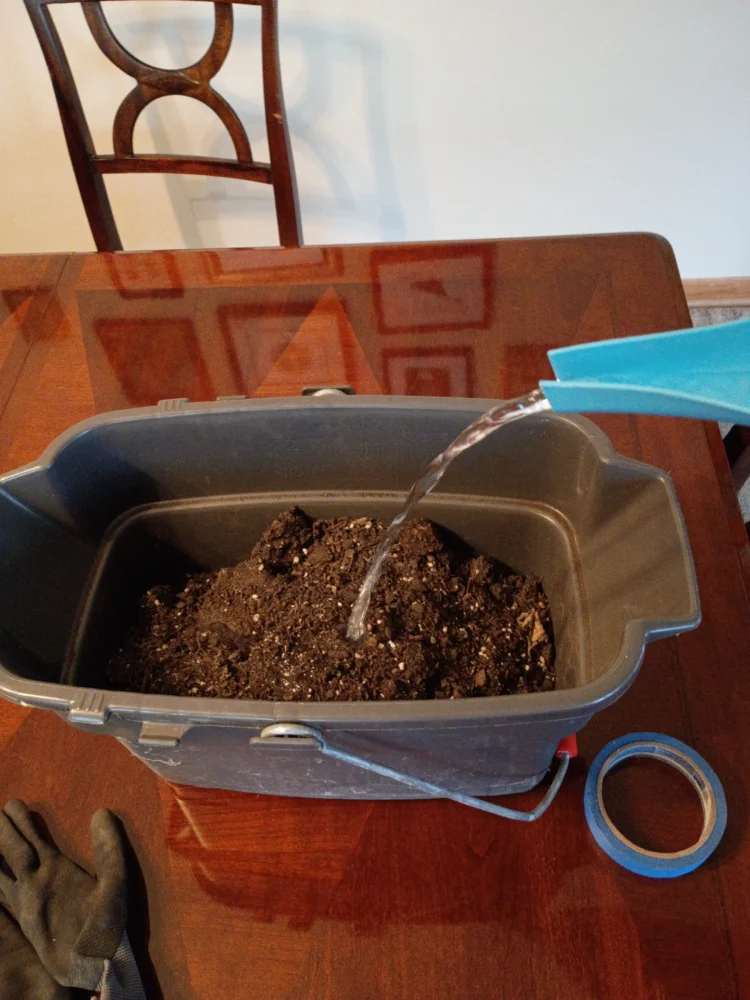
Step 2 – Prepare the Soil
Second, let’s touch some dirt! Ready the potting soil in a bucket or tub by mixing it with water until moist. Fill the jugs with the moist potting soil to about 1” below the opening (about 4-6″ deep).
Step 3 – Add the Seeds
Next, we can add our seeds. Choose one species per jug. Spread seeds evenly on top of the soil. Then, sprinkle a small dusting of dry potting soil on top of the seeds, not to bury them deeply, but to increase seed to soil contact. Tape the jugs closed and label the species name with sharpie on the outside. Do not add a cap and allow rain and snow to get into the jugs.

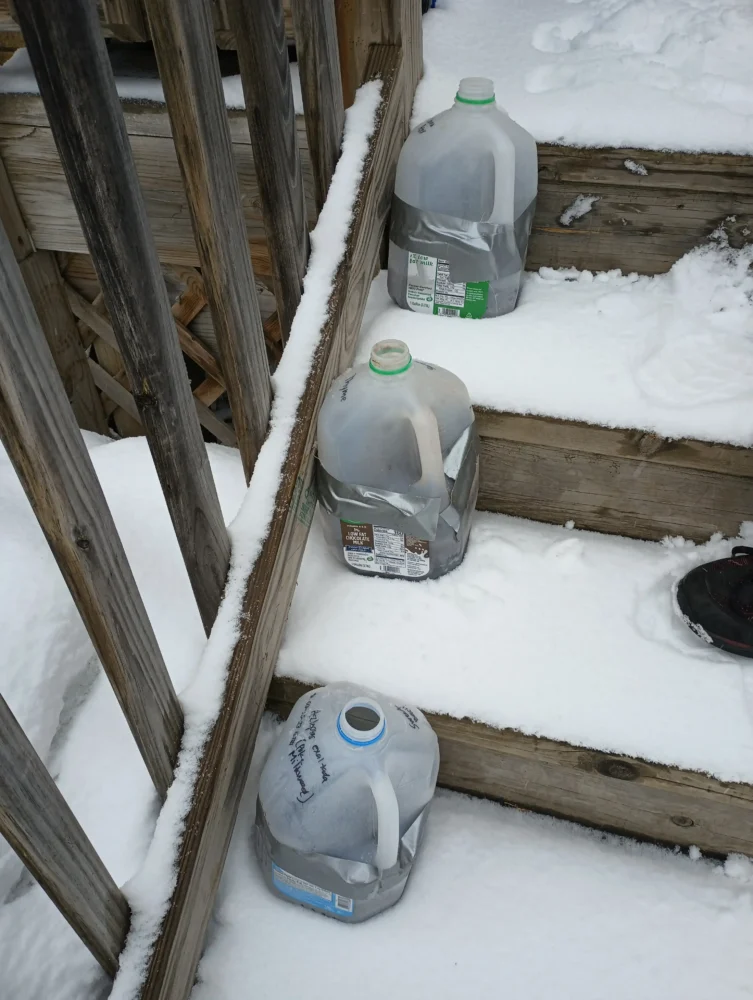
Step 4 – Place the Jugs Outside
Place the jugs outside. For the first month or two, it is best to keep them in a colder, shadier environment. It is okay for them to be fully covered in snow if there is a big snow event. In late March or early April, move the jugs to an area that receives more sun. Once they germinate and you see small seedlings, open the top half of the jug to allow more sun and air flow.
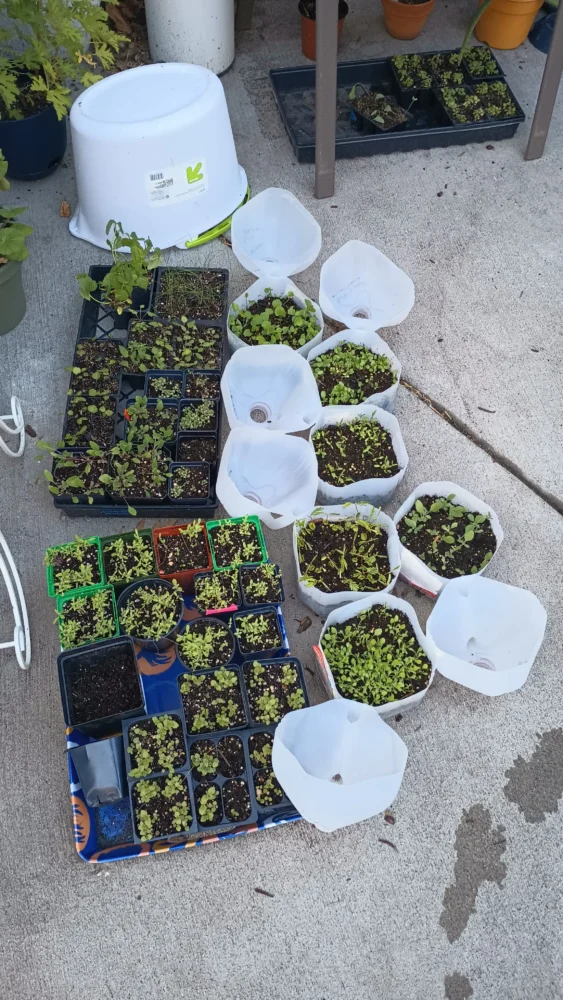
Step 5 – Transplant and Care for Seedlings
After the seedlings get a few inches tall, you can thin them to 10-20 seedlings per jug or transplant them into individual seed trays or pots to continue growing. After the ground has thawed, you can transplant them into your garden. Support the newly planted seedlings, especially during the first growing season by watering them during dry periods and clearing their growing space from weeds and other unwanted debris.
And finally, enjoy the fruits of your labor, the beauty of the plants, and the wonder of the insects and other wildlife they support!
Detailed photos of the steps involved:

Materials need 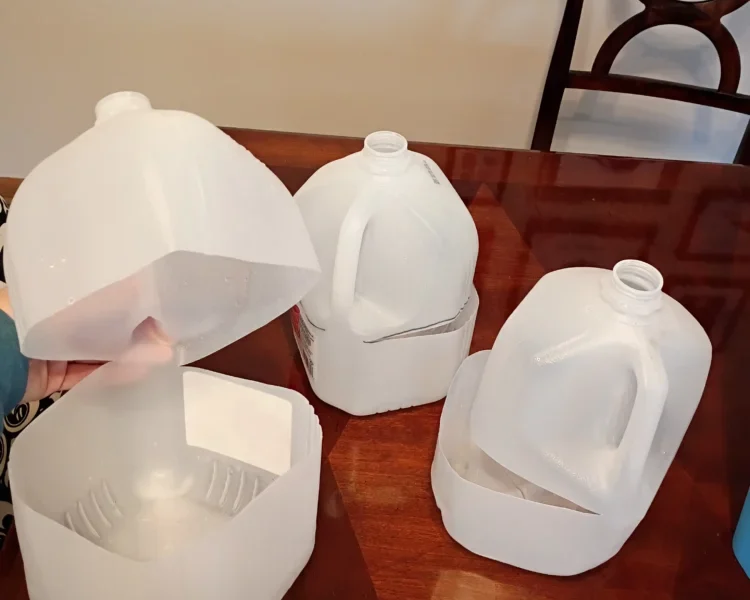
Cut jugs in half horizontally as well as drainage slits at the bottom of the jug 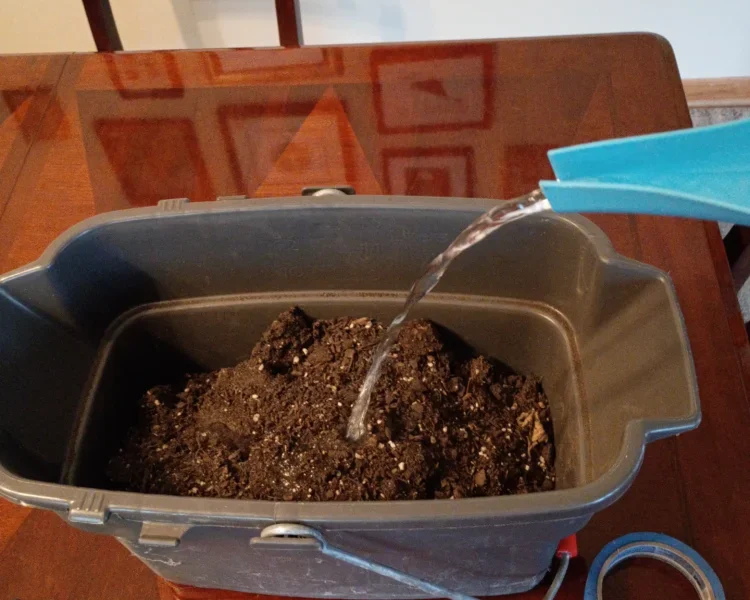
Moisten the soil 
Mix it all up 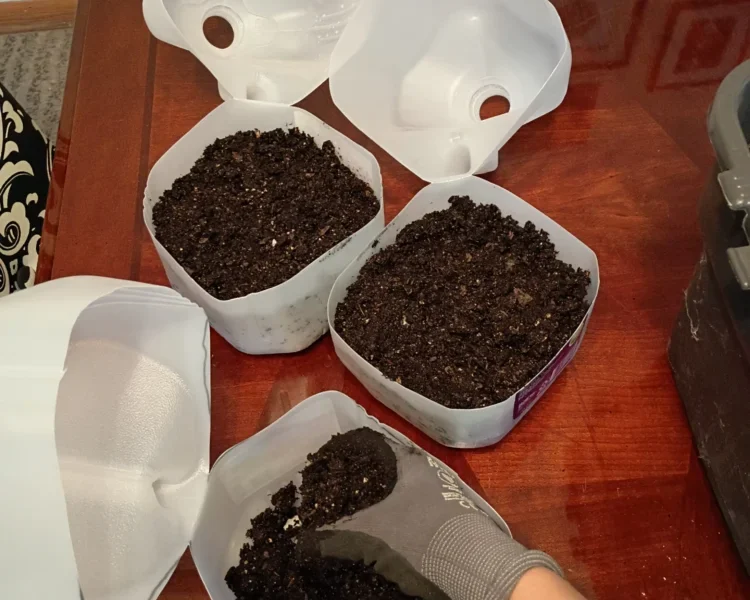
Add mixed soil to jugs 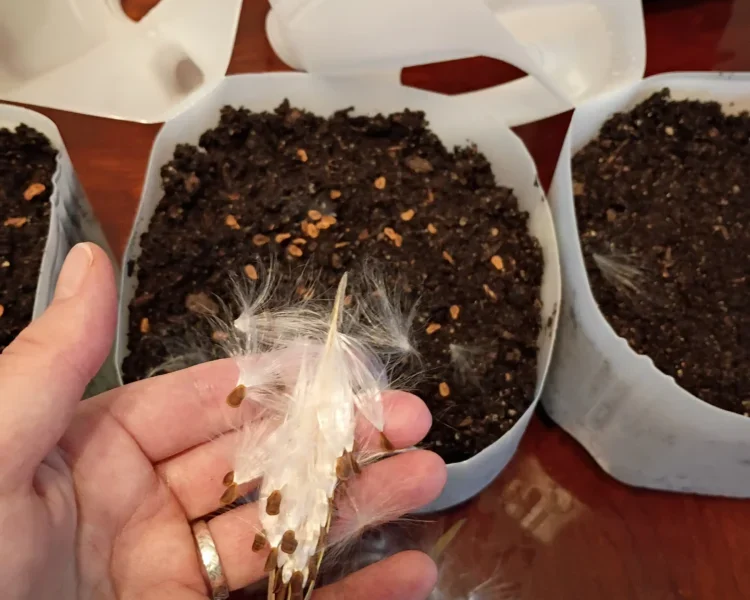
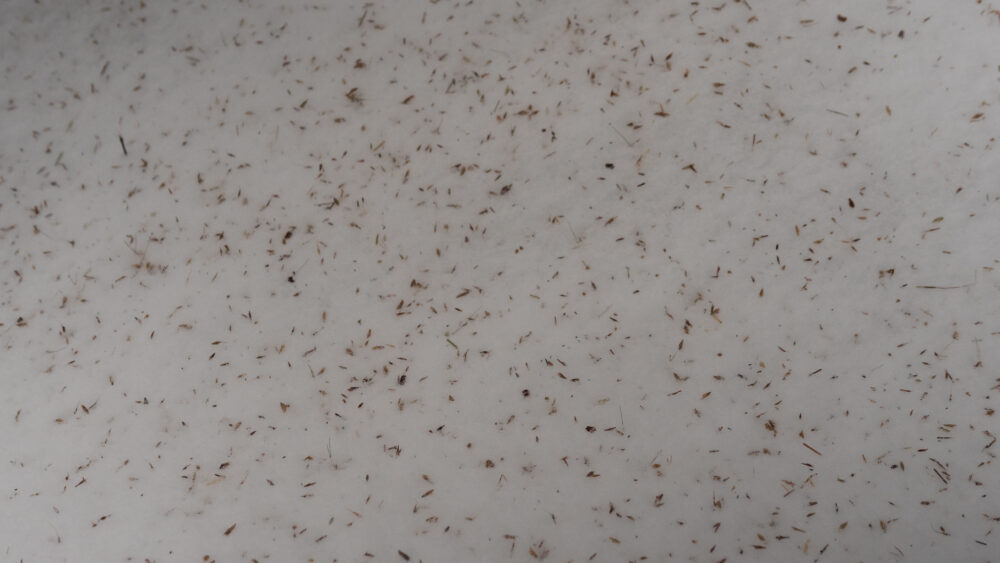
Remove fluff off of species like Milkweed 
Clean seed ready to disperse 
Spread seed around about 1/2 inch to 1 inch apart 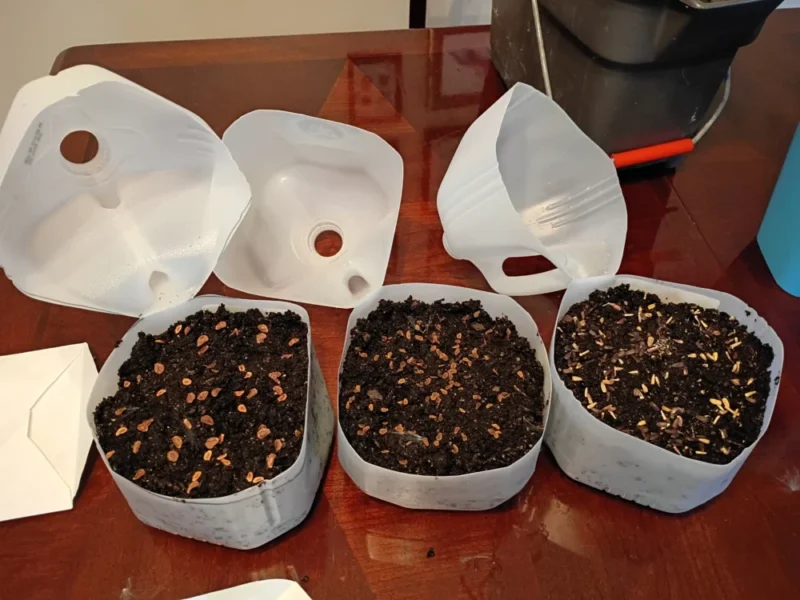
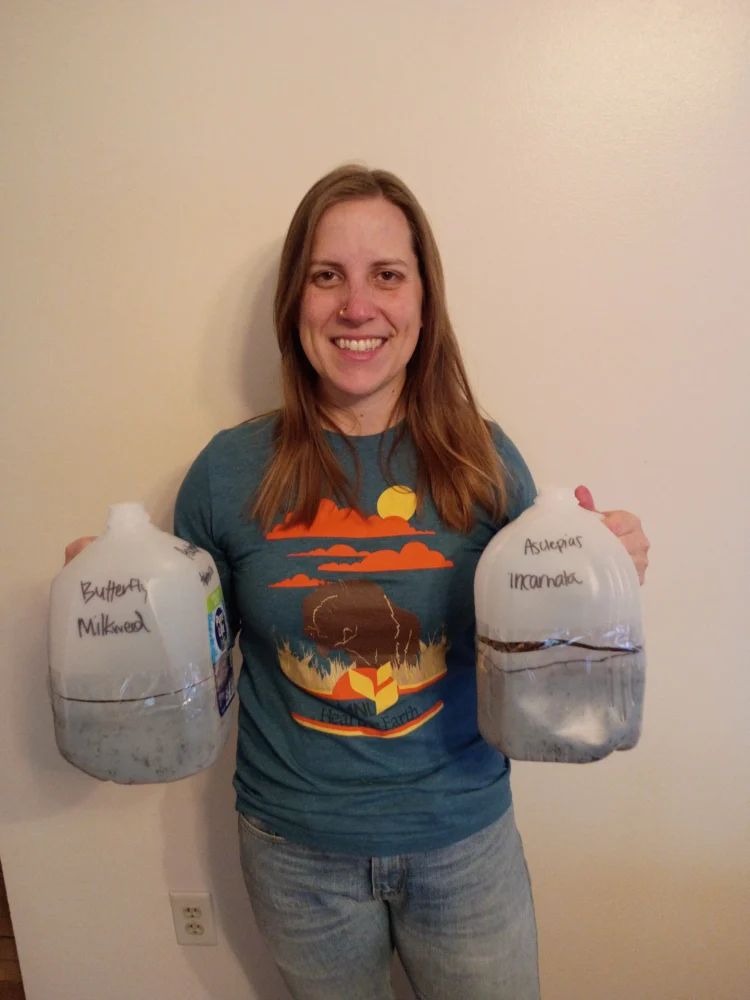
Jugs seeded and ready 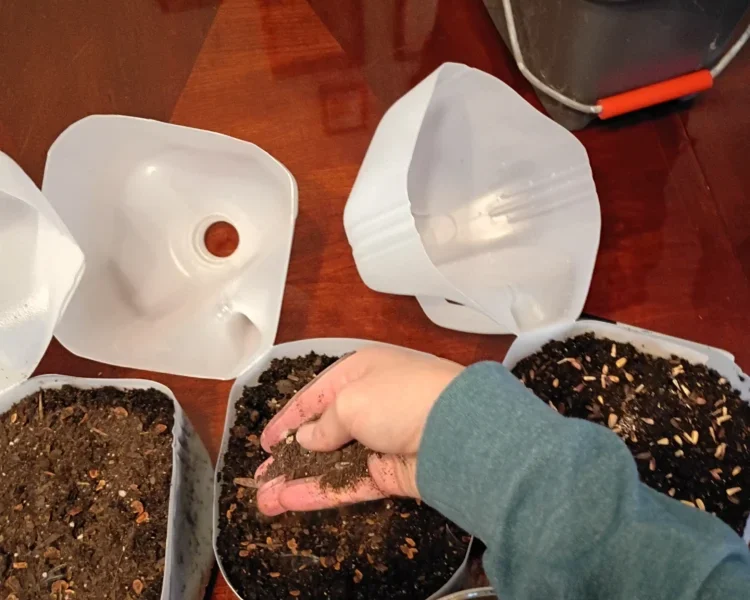
Slight mulch over the top to hold temperature stable 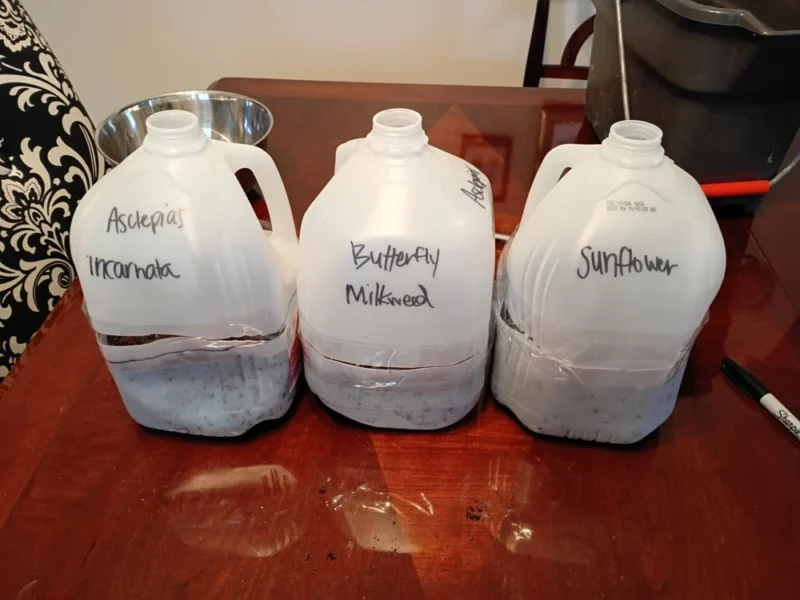
Label jugs 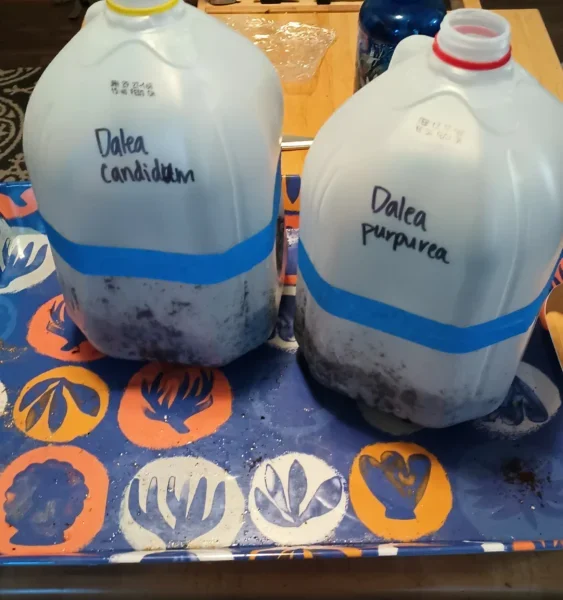
Taped jugs shut, holds moisture and temperture stability 
Place outside in the elements 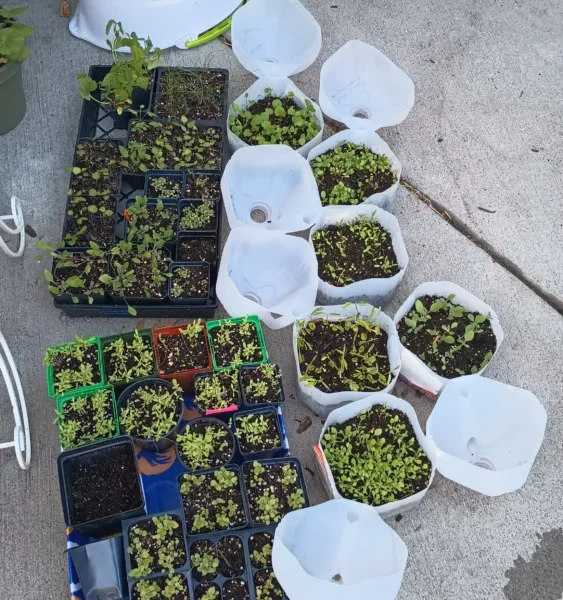
Enjoy your seedlings!
Leave a Reply